顯示具有 recipe 標籤的文章。 顯示所有文章

2015年7月25日 星期六

南瓜饼

这些天我把家里的食谱都翻了一篇, 看看少了哪些又喜欢哪些才好下手去买。

因为喜欢的东西总共就只有那么几样可以下手的,所以我很有可能会买回一样的。

当然曾经有过double的漫画书和食谱,并在一年一度的收拾书橱行动中被发现了,所以我才会那么的有感而发的。。汗

好吧~ (终于记起那次的惨痛经验并深深地。。) 其实这个真的不能怪我啦~~ 因为我家里的书橱分出两个, 一个是不常用的,另一个则是常用的。所以如果它是寄宿在不常用的橱柜里的话,那么不被发现不是很普通吗?

这个七月特别热,整天都让人提不起做什么的兴趣。只是坐着就可以留很多汗了。。还会想要做些什么吗?

肚子饿,嘴又馋的时候就想来点点心罢了。

这次是个新尝试。

南瓜饼

用料只有南瓜,幼糖粉和糯米粉。
我用家里的面包机把粉团准备好,然后一个个20gm的分好搓圆,下平底锅前压一下。


我家里的小孩很喜欢吃,几乎让他们两个全啃了。

到现在我还会想起,当我把红茶泡好的时候,他们已经吃了一大半了,还在呼呼喊热。。。好不可爱啊!!太萌了!

昨天在杂货店看见新鲜的番薯,想到家里的番薯还要一段时间才能收,我就买了些回家。
一蒸一倒就把南瓜饼改成番薯饼了。。这次小孩才稍微的留了些给我们两个大人。

可能敢想又不相克的话,我还会再试试其他的,反正闲着也是闲着。


生活在于勇于尝试

2014年8月27日 星期三

自己试着做咸蛋

其实是件还蛮简单的事。

这是我的感觉。

家里因为公公生病的事而开始把腌制品划掉以后,我们家里基本就非常贫了,吃的东西选择不多。


自己试着做之后, 唯一好处就是小孩也可以放心吃了。


用鸡蛋来做其实是因为我没有好的鸭蛋来源,而鸡蛋是在超市就可以买得到的, 所以很方便。


就是颜色没有很好看罢了, 嘿嘿~


啊~还有零技巧的切割技术。。(^///^ .....对手指)

蛋黄的形状虽然不好但是颜色却意外的好看的说~~ 对吧!?

有兴趣试试的可以参考以下的资料。

材料:
一个清洗干净的玻璃瓶(我用家里备有的玻璃瓶)原料基本就是照着瓶子的大小而定的。
鸭蛋/鸡蛋 的分量可以看瓶子可以放得进几粒。
粗盐 和水的分量是 1 比 4
(什么酒都可以)一汤匙
花椒 两茶匙/ 一撮
八角 一粒

做法:

1。蛋用水洗净,沥干水份备用。
2。1比四的粗盐和水放入锅中, 加入花椒和八角煮滚。待盐已经完全溶解后, 熄火待凉。
3。把一汤匙的酒放入锅里。
4。把洗过抹干的鸡蛋放入玻璃瓶,把已经凉透的盐水倒入, 务必让盐水盖过鸡蛋。因为鸡蛋会浮起来所以可以用东西压着它们。

浸一个月就可以开来品味了咯~ 很容易吧~ ^ (.) ^

 (完蛋了~我现在才想起我上个星期做的那瓶好像忘记在煮后再加酒了。。。会不会怎样啊?~~~~~)

2012年11月26日 星期一

甜心小蛋糕

最近的一个小烘焙尝试,爆甜的小蛋糕。

我明明在节甜的~(跺脚)但是还是吃了好多个。。所以最近应该要更节制了~哎 (叹气)

话说上次买的一堆的纸杯到现在都还没有用完, 是不是我烘得太少了?

想想啊~最近的一次聚会应该是在年尾了吧, 到时把它们都用一用好了。

不过该做哪一种好呢?。。(离题了)咳咳。。(不好意思)到时翻一翻食谱再做打算好了。。现在还是讲讲我甜心吧~


刚刚烘好的时候, 那个香味就已经让我很不怕死的吃掉了第一个,现在拿来拍的这个,应该是第二。。还是第三个吧~ 嘿嘿。。我忘了。。


这个是第一趟的, 颜色没有很深,金黄色的表层, 很可爱吧?!

但是只有吃过的我才知道, 这并没有过瘾。


第二趟的, 烤得比较久一点。。那个口感才是最棒的涅~ 呵呵!

因为最上面的一层其实是饼干的料,所以烤得橙色点比较香脆啦~

这是我这个懒人用的材料的包装,奶油饼干(左图)跟巧克力蛋糕(右边那个)。

有时候真的不想拿出太多东西, 难收拾又要洗什么的, 所以就。。能懒就懒罢~

这个真的是超简单的, 有空也试试吧~

巧克力的蛋糕, 取出一半的用量就够了。搅拌好了在纸杯子里放入一半就入烤箱10分钟。


叮一声之后, 取出来。看到最角落的那包Cloud9巧克力吗?

剪开包装,在蛋糕中间放入一个Cloud9巧克力, 
再用奶油饼干的料覆盖它(预先搅拌好整包的用料)然后再入烤箱15分钟。

可以看看饼干用料的盒上写的烘烤时间来做参考, 反正就是金黄色了以后就好了。


很容易吧?

也很好吃哦~

我家大人跟两个小孩都喜欢, 这几天的早餐都是它们就对了。。加上一杯牛奶。。(他们两个一起床了以后, 就会自动去冰箱拿出装小蛋糕的盒子和牛奶的)

好像这样吃还算ok吧?~ 

最近, 他们在吃维他命c和用药材汤调理, 好像身体都有显得ok了一点, 起码, 吃一点点冷的东西也不会那么容易咳了~  万幸啊~ 

好了, 今天就分享这个, 希望我没有把它弄坏才好, 因为没有食谱的这是。。都是靠经验在拿捏的。所以。。就酱吧~ (心虚的溜)


2012年9月21日 星期五

彩绘松饼

我最近尝试的食谱, 彩绘松饼.

闹着玩的。

看起来还行吧~

本来应该是 B 字来的, 但是我忘了把它写倒翻了。

后来, 再试着把它写翻方向后, 发现那是其丑无比。

再试!

再试!!

再试了以后, 我发现。。。用来做彩绘的料已经没有了。。哈哈!所以只能做罢。

玩着的时候, 

真的没有怎么想的,

就乱乱的给它写上小孩的名字速写。

希望他会喜欢, 

但是。。奈何小孩跟他爸一样, 

问我:“妈咪, 为什么上面的颜色这样? 是不是烤坏了?” 眨着眼睛。

“!!!!!????!!!”

你就没有看见它上面写的是 B 吗?!!

太欺负人了,这个小孩。

木的没办法。

真想给他敲下去。


后来东西上桌,发现只有我自己吃的津津有味, 小孩和他都不是很喜欢耶, 怎么办呢?

他们都觉得它不够甜。

比起我平时做的松饼。

不过考虑到它的用料, 我觉得它真的还行~ 

如果有朋友想要尝试,它的用料如下;

低筋面粉:150g
泡打粉:两小匙
鸡蛋:一颗
砂糖:25g
牛奶:1/2杯
水:60ml
香草精:少许
可可粉:少于1小匙

做法:
1,面粉和泡打粉混合后过筛, 备用。

2,将蛋及砂糖倒入碗内,以打蛋器搅打至泛白后,倒入牛奶及水,搅打均匀。

3,倒入 (1), 由外往内翻搅后加入香草精。

4,将三大匙面糊移至小碗内,加入可可粉搅拌后,装入挤花袋内(或者用一干净的小纸袋)

5,在已预热的烤盘上以挤花袋涂鸦后,淋上面糊 (3),煎至表面出现洞孔后翻面,(这里有点难拿捏, 我的第一个就焦了)至到呈现漂亮的焦黄色为止。

最后, 可以依喜好涂上枫糖浆, 蜜糖什么的来配着吃。。

我喜欢空空的什么都沾, 再配上一杯咖啡。。慢慢享受。


每一天就算再忙, 我也给自己一小时,

慢慢的喝着咖啡, 吃着点心, 听听广播。。


希望大家假日愉快

2010年2月3日 星期三

I have been busy like a bee.....

Yup!
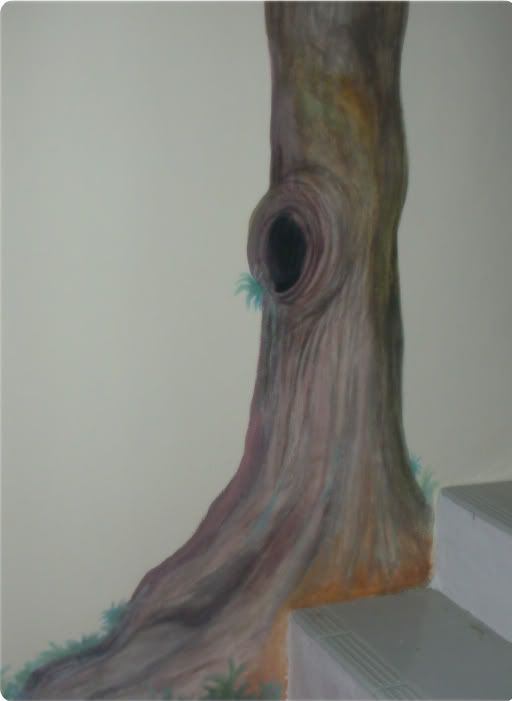
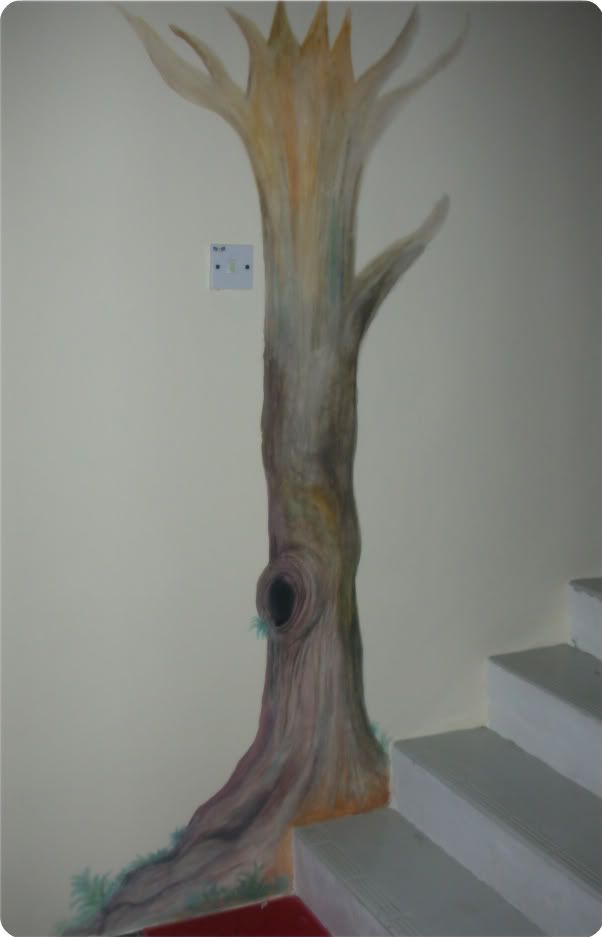
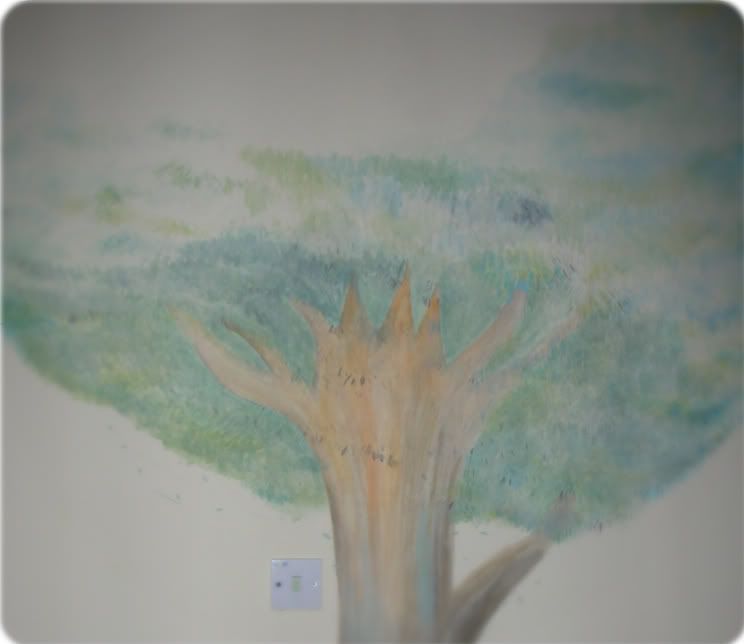
Drawing a tree in my house is a dream for me. I mean I've never have such an freedom to do so, imagine if I draw it on my parent's house? or my hubby's house ( if we live with them) ? I think they would have angry and mad at me like ..forever? I don't know. May be or may be not, but I wouldn't give it a risk.
我常常幻想拥有一颗树, 在我的房间里或屋子里。一直都没有机会,父母家和夫家都不是能发挥创意的地方,我从来不敢多想。现在,在自己的家里,对我来说是个好地方,我可以不受约束的发挥我的想象力,去创造我的天空。

first night
second night

the 3rd night

finished work. ^-^

I was extremely tired, just because I've given myself a hard time for the preparation. We fight for no reason the other night, and I found out I was under pressure, hubby as me to slow down the preparation and he willing to give a little help with the cookies too! Aw... I was then "soak in the honey" for a few day.
夜晚,小孩睡着了之后, 我便开始工作了。白天,我让自己做一种饼干(新年用的)便收工。几天下来,脾气不好的我还与老公为了小事, 小吵架。过后老公说我的样子好像很老,我听了也难得的赞同了一下。他才要我放下工作好好的休息一下,并承诺会早一点放工回来帮忙我。^-^ 接着几天,我都是浸在蜜糖里的工作着。。。。

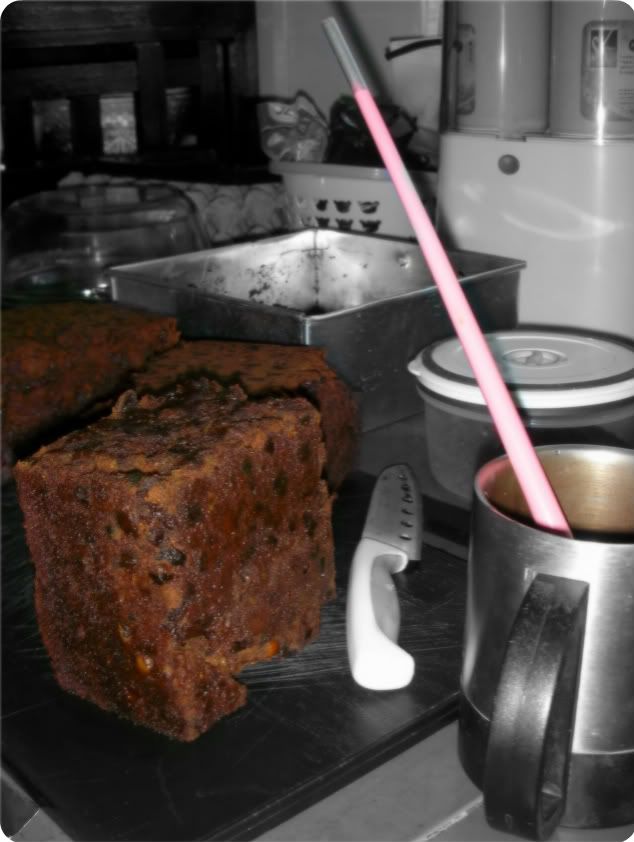
I have make 5 cake this time, but two type, recipe as below:
我这次做了五个蛋糕,两种而已,改良版的食谱如下:

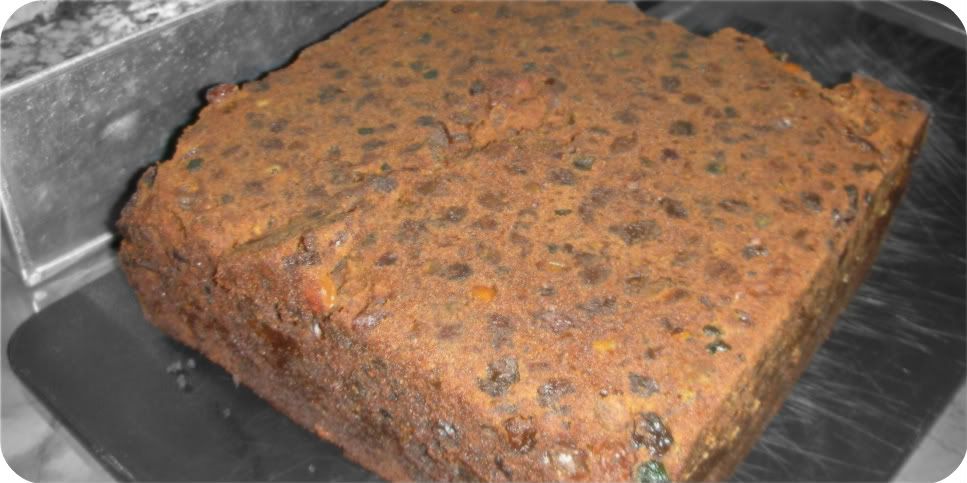
Fruits cake (13x 13")


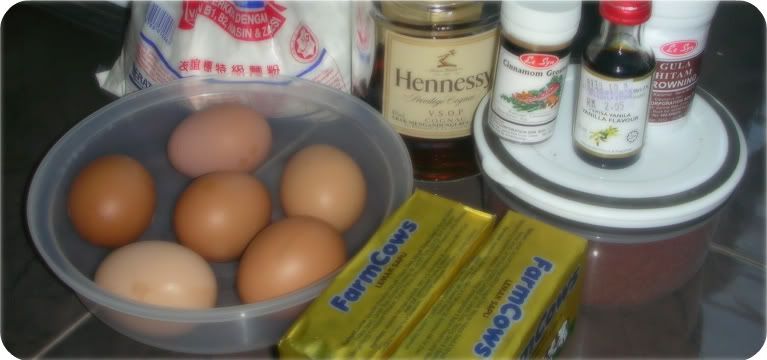
Ingredient A : (in a big bowl or such)
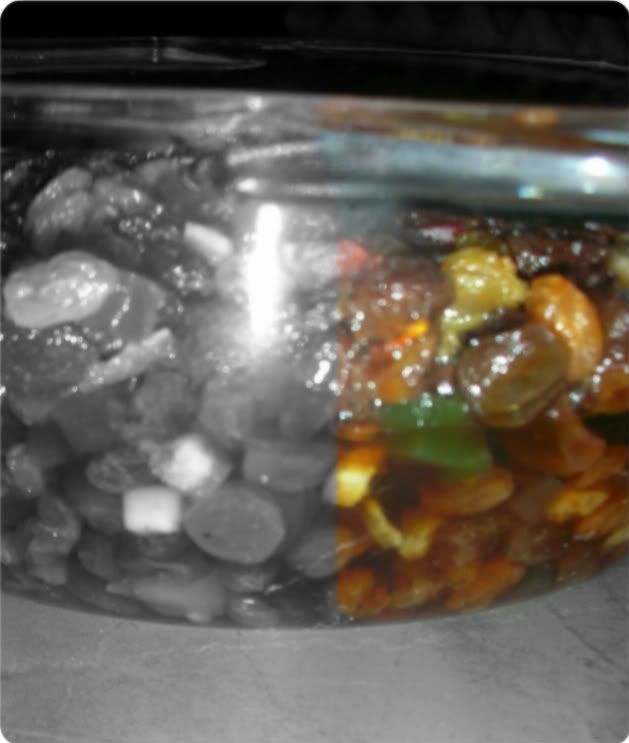
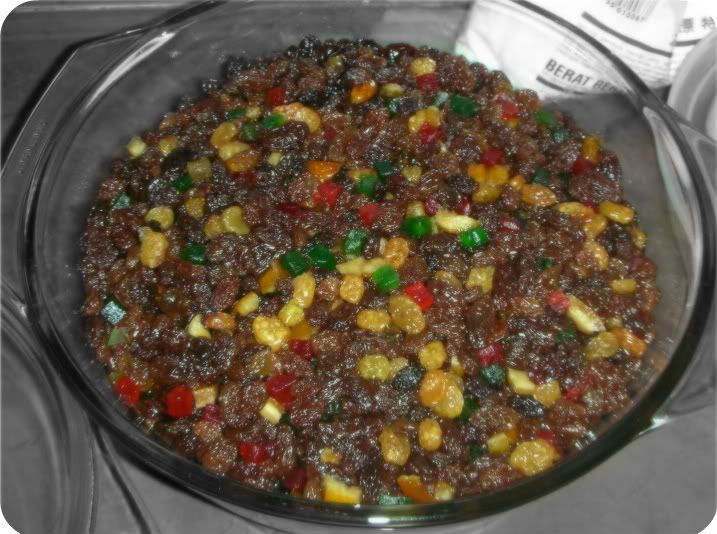
dried fruits 1kg( ready pack)
Hazel nut 100gm
Hennessy(or any alcohol) 120gm

Ingredient B:
egg 6 (big size)
butter 375gm
flour 450gm
vanilla 1/2 tsp
cinnamon 1/2 tsp
castor sugar 280gm
black sugar liquid 100gm
Hennessy 1/4cup to add in
Hennessy 1/2cup to spray/brush on later


Method:
Step 1: mixed ingredient A and soak overnight, room temperature.
Step 2: preheat oven to 325degrees F (175C)
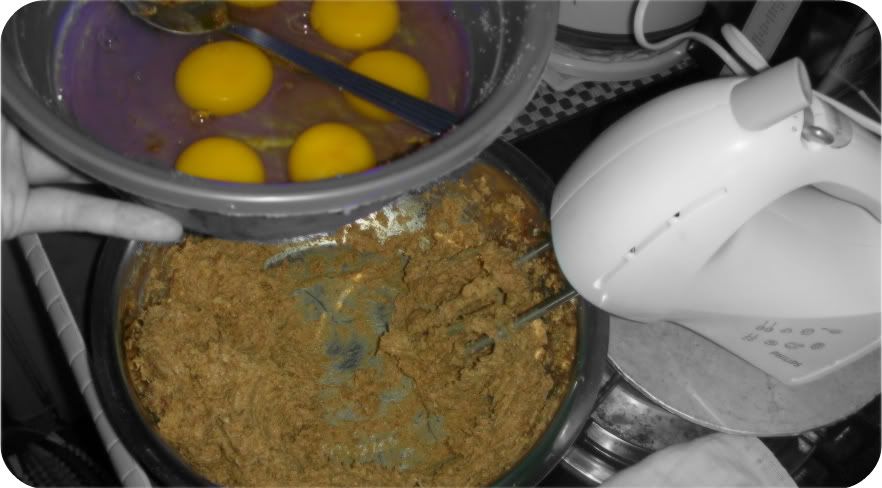
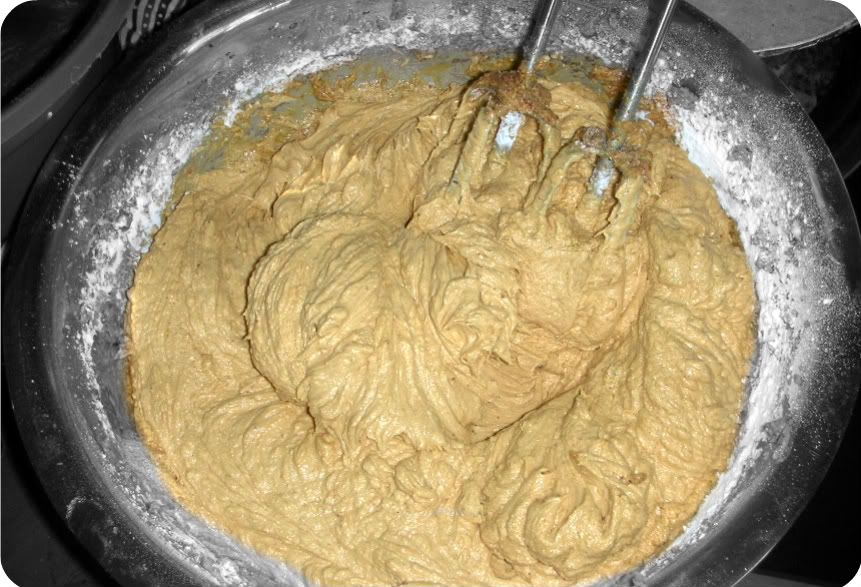
Step 3: beat sugar and butter (in a huge bowl or such) then follow by eggs (one by one). set aside.
Step 4: drain the ingredient A and mixed with 250 flour, set aside.
Step 5: back to the mixtures on step 3 continues with other things like vanilla, cinnamon, alcohol and back sugar liquid then add in the step 4, mixed well.
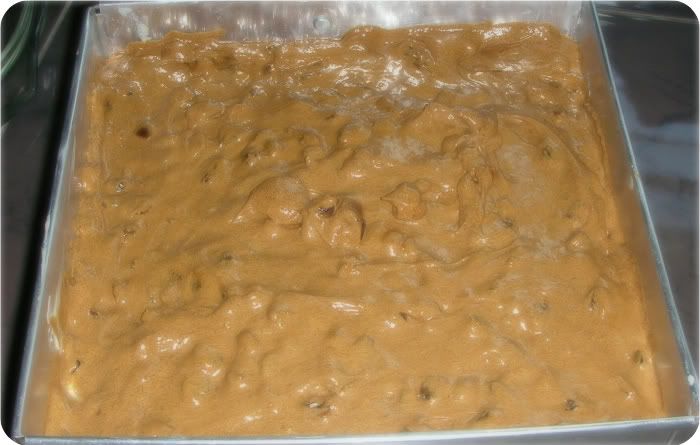
Step 6: pour into the ready pans (spread the butter first) and the bake it with 180C for 20 minute to prevent the fruits from falling to the base.
Step 7: Then go for 150C for 40 minute, lastly is 100C for an hour.
Step 8: Cool on racks and brush on the alcohol to it.

Served! ^_^


and then the next one is,

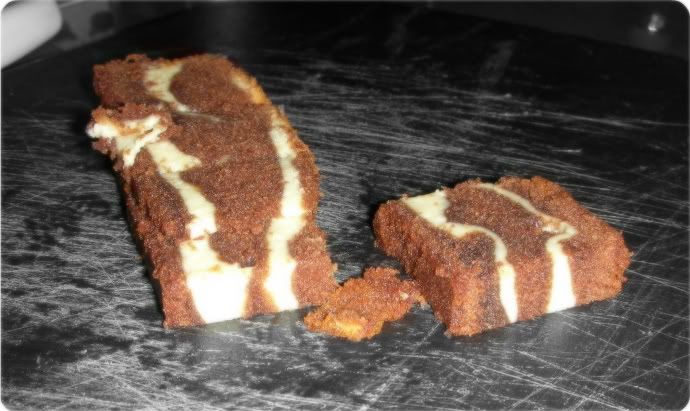
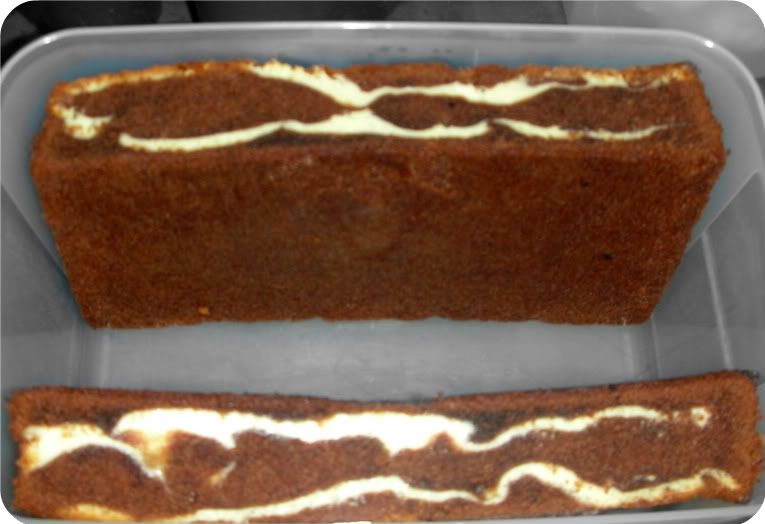
Marble Cheese Cake
After baking for a few time of this cake, I work out a rather easy way for it, sharing it here.


Ingredient A: ( in a large size bowl/such)
butter (Unsalt) 250gm
castor sugar 160gm
salt 1/2 tsp
egg 3


Ingredient B:
flour 120gm
cocoa powder 20gm
baking powder 1/2 tsp


Cheese Ingredient:
cream cheese 250gm
castor sugar 80gm
egg 1

Method:
- spread the butter to the tray you going to use for the cake and set aside.
- Cheese ingredient mixed well and set aside.
- Ingredient A mixed well (egg has to be put in one by one).
- Ingredient B mixed well and slowly add in to Ingredient A while mixing until thickened.
- Spoon the mixtures into the ready pan, a little (enough to cover the whole base of the tray) then spoon in the cheese ingredient a little (enough to cover the mixtures), follow by the mixtures again (same method) and the cheese again and mixtures again.....
- Then flatten the top of the pan and set in to bake for 180c for 45 minute.
- try using a toothpick to see if it's ready to served ( by insert it to the middle of the cake, when you pull out and nothing is on it then it's ready)


P.S: Usually ready when you follow this method. ^-^


Remark:
one of this given to my mum, mother-in-law, myself and one sold to William's worker. He said it's tasty..
(一个给老妈的,一个给家婆的,自己留一个还卖了一个给William 的工人,他说好好吃哦!)

That's enough to today, hope you all have a nice day. Hugs,

2009年11月16日 星期一

Homemade Granola Bars:


Adapted recipe from Alton Brown


2 cups of old-fashioned rolled oats
1/2 cup sliced almonds
1/3 cup of honey
1/4 cup of brown sugar
2 tbsp unsalted butter, plus extra for pan
2 teaspoons vanilla extract
1/4 teaspoons kosher salt
1/2 cup of shredded coconut
1/4 cup of semi sweet chocolate chips


Method:
1. Butter a 9 by 9 inch glass baking dish and set aside. Preheat the oven 350 degrees.
2.Spread the oats and almonds onto a baking sheet pan. Place in the oven and toast for 10 minutes,
stirring occasionally.
3. In the meantime, combine the honey, brown sugar, butter, extract and salt in a medium saucepan and place over medium heat. Cook until the brown sugar has completely dissolved.
4.Once the oat mixture is done, remove it from the oven and reduce the heat to 300 degrees F. Immediately add the oat mixture to the brown sugar mixture, next add the coconut and chocolate chips then stir to combine. Spread mixture evenly into the prepared baking dish and press down, evenly distributing the mixture in the dish and place in the oven to bake for 25 minutes.
5. Remove from the oven and allow them to cool compeltely. Cut into squares or bars, wrap individually in saran wrap then store in an airtight container for up to week.


2009年11月12日 星期四

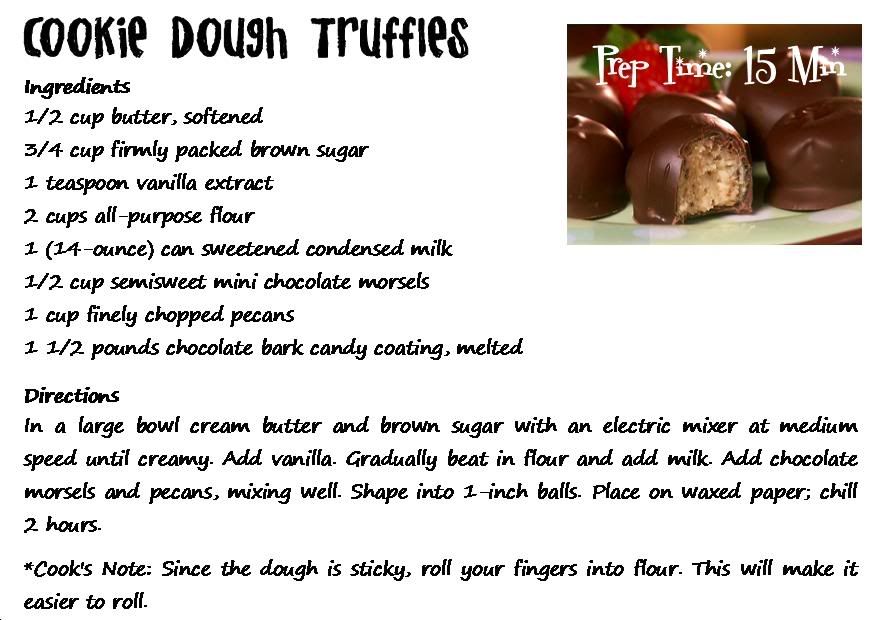
Cookie Dough Truffles

I get this recipe from a friend's friend. It's a good recipe for someone like me. It's very simple and easy to make too! I'm planning on making it for Chinese New Year's treat too! ^-^ The first try was very ugly looking there for I'm not planning on display it here..But when the time is right..I'll sure to get you one .


Please click on the image for a bigger view or to download.

Have fun!

2009年9月23日 星期三

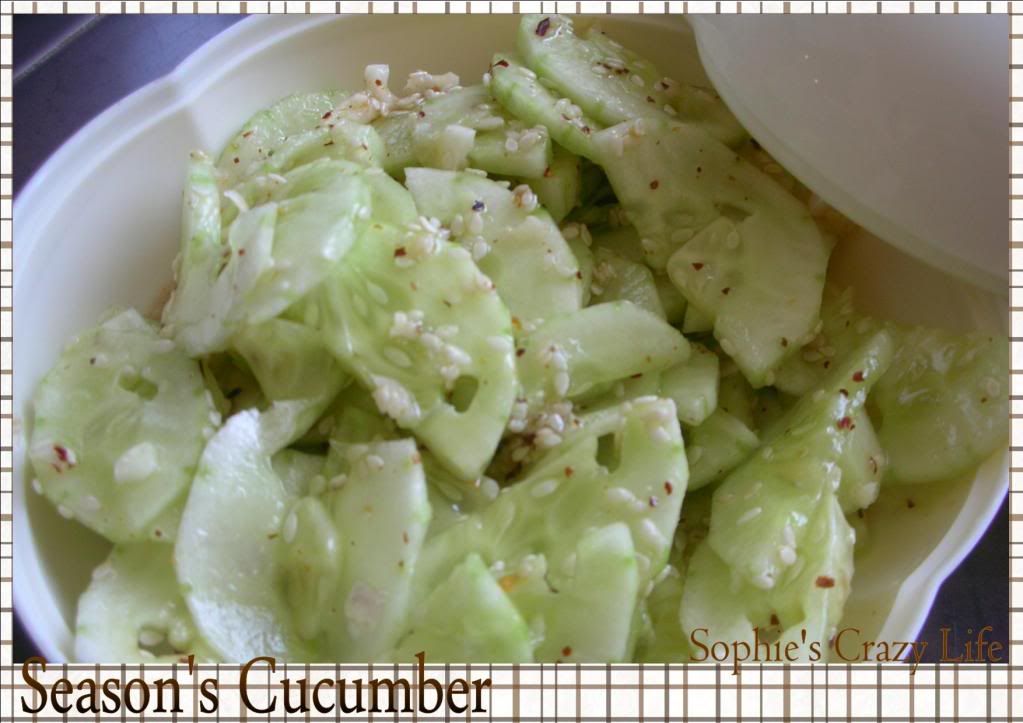
Season's Cucumber


You'll need:
  • 2 cucumber
  • 1tsp Chili powder
  • 1/2tsp salt
  • 2tbsp of vinegar, sugar, garlic & sesame oil.
Chop up the garlic, slice the cucumber, and mix together with all the ingredient above. Served.
Tell me what you think.


P.S. If you are have time, you can mixed the vinegar, sugar, salt, chili powder, garlic & sesame oil in a bowl. Try and taste it, add in more sugar or salt until its suit to your taste. Then only you add in the cucumber you have sliced.
Tips: If you haven ready to serve it yet, you can try add in some salt to the sliced cucumber and put it away. Remember to dry out the water from the cucumber before you add it in later when you are ready to serve.

2009年9月14日 星期一

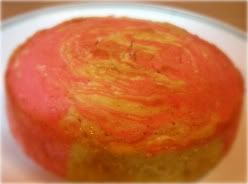
Rose Marble Cake


Sorry ^-^ I haven cut it yet.
Rose Marble Cake
Ingredients:
150g butter
150g castor sugar
3 medium size eggs
160g self-raising flour, sifted
2 tbsp evaporated milk
1/4 tsp vanilla essence
2 drops rose essence
1 drop red food colouring

Method:
-Line the base of an 18 cm square or 20 cm round cake tin with greaseproof paper and lightly brush the base and sides with butter. Preheat oven to 170*c
-Cut butter into 2 cm cubes. Leave to soften before mixing with sugar. Beat until light and fluffy. Add eggs, one at a time, and beat well.
-Fold in half the flour, followed by evaporated milk. Don’t over-beat the mixture. Then fold in the remaining flour.
-Divide the mixture into two equal halves. Fold the vanilla essence into one half and rose essence and red colouring into the other half.
-Alternately drop the two flavours of batter into the prepared tin. Run the tip of small knife throught the batter to create a marbled affect. Bake in preheated oven for 25-30 minutes or until cake is well-risen and golden brown. Leave cake to cool and serve.

2009年8月29日 星期六

Snow Ball & Hazel Cookie

Snow Ball
This is a very simple cookies recipe. Honestly, I didn't have the recipe of this, I saw it once on TV and memorized it. I have changed it a little bit by adding the topping of hazel slices.

Click on the picture for bigger view.


The Making Progress.


Ingredient:
Butter, Plain Flour, icing sugar,Hazel Slices and an egg.


Method:
1.Put the Butter and flour into the mixer, make sure its well mixed.
2.Hand roll the mixed (1) to little balls and put in to bake for ten minute.
3.Put some icing sugar in a box, then take out the (2) from the oven and put them in the box, gently while you mixing it with the sugar. (mixing while its hot)
4. Serve.


Bonus
Hazel Cookies:
1.Simple dull as above just have to add in the sugar before you make them to the shape you want.
2.Beats the egg and take out a brush to paint the egg to it, put the hazel slice on it and paint the eggs on the top again.
3.Bake them for 10 minute.
4. Serve.

^-^ hope you likes what I post and love what you make.